Friday, November 7, 2008

An extra 1000 parts added again...

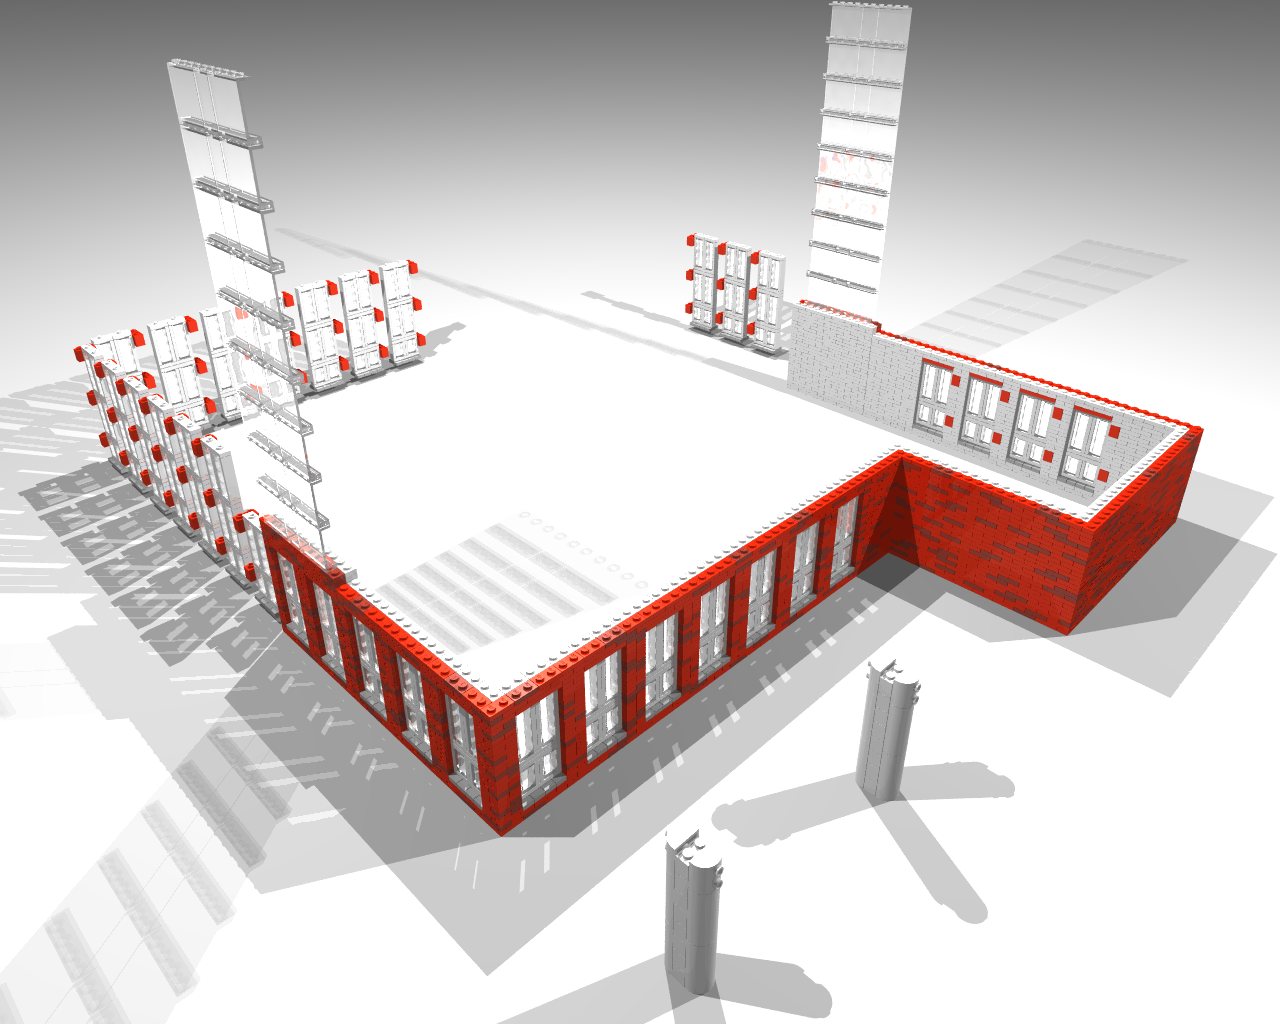
It's amazing how many parts it takes just to build a single wall. Tonight I've been working on the model for a bit, though I didn't have as much time as I hoped for. But despite that the model got a bit further now. All in all I've been adding about another 1000 parts to the model, which means that the walls of the ground floor on the right side are now nearly finished. All that is left to do there is to add the ceiling of the part where the white columns are.

Below you can see the progress. I also added a thumbnail of the latest render I made to the righthand column of the blog as well. This way it automaticly updates as soon as I upload the new images.

Considering how it goes now and the fact that the weekend is coming closer, I hope to be able to finish at another floor (but hopefully 2) by the end of the weekend.

Wednesday, November 5, 2008

Technical insight into the 157 windows of the model.

Todays post will give you some information on the design of the windows of the scale model of the office as for the outside of the model this is one of the most common and distinctive elements to be seen in/on the walls. In total there are 157 windows in the walls (not counting the glass facade at the entrance and the glass column in the middle of the building). About 140 of these are of the small type I will be telling you about below, the rest of them are somewhat higher (but are have the same construction).


Here you can see a window separated from the walls together with the elements that attach it to the wall. The red bricks are Technic bricks 1 x 2 with 1 hole, which have a 1/2 length pin to which the window parts attach.

The windows are made using the so called SNOT technique, which means "Studs Not On Top", in other words, different from regular Lego building, the bricks are place sideways, causing the studs alto be on the side. Using this method you can have make advantage of the sizes of the Lego bricks that differ when you compare the height of a brick to the width of a brick. In the case of the windows the way I used the bricks resulted in the proportions being close to the windows in the actual building (at least according to the design drawings of the architects).

When you look at how the window is positioned you might notice that the window is slightly moved into the wall by half a stud length, which is possible due to the fact that I decided to have walls that are 2 studs wide as that allows me to color the inside of the walls different from the outside.

Looking at the pieces used to make the windows you can see that the base of the windows consist of 4 1 x 2 plates with one stud (in gray) and a tile 1 x 4 (in white). On top of that there is a construction for the smaller lower glass pieces that are created using the SNOT method of building, that consist of a plate 1 x 2 (in white), a brick 1 x 2 (in trans-clear), 2 plates 1 x 2 (in white), a brick 1 x 2 (in trans-clear) and finally a tile 1 x 2 in white. On top of this there is a plate 1 x 4 and a tile 1 x 4 (both white) which have no real attachment to the rest of the construction and will hopefully stay in place just by friction of the parts around these parts. The layer above that is similar to the small glass pieces with the difference that they are 1 x 4 pieces instead of 1 x 2 pieces. And finally there are 2 white plates 1 x 2 with one stud (in white) on top of that (these are fixed in place by a 2 x 4 plate which is in the wall.

An overview of the parts used in the window...

Tuesday, November 4, 2008

Work continues...

I've been working on the model for a few hours again. In the past few days I've been thinking about the walls and how to improve them so that they don't appear to be flat red surfaces and also to solve the issue of the ugly mix of plates and bricks around the windows. The solution I now chose is to replace all bricks by plates and use duotone in this so that the appearance of the wall becomes somewhat more realistic like actual bricks.

Unfortunatly this change requires me to start all over again from the floor up, which stops me from making any progress on the next storeys, but I believe it's well worth the effort.

Here you can see an example of what the walls now look like, when only using plates.

I hope to be getting close to the point where I was before in one or two days work.

Some statistics about the model:
Size: 92x80x44 studs which equals to about 73x63x35 cm (this is not the final size)
Parts: ~1600 pieces

Monday, November 3, 2008

Start of moccing...

Hi all,

Hereby my first post on this blog and also the first display of my projects. I will kick off with a project I'm currently working on, which is a scalemodel of the new office that will be build for the company I work with.

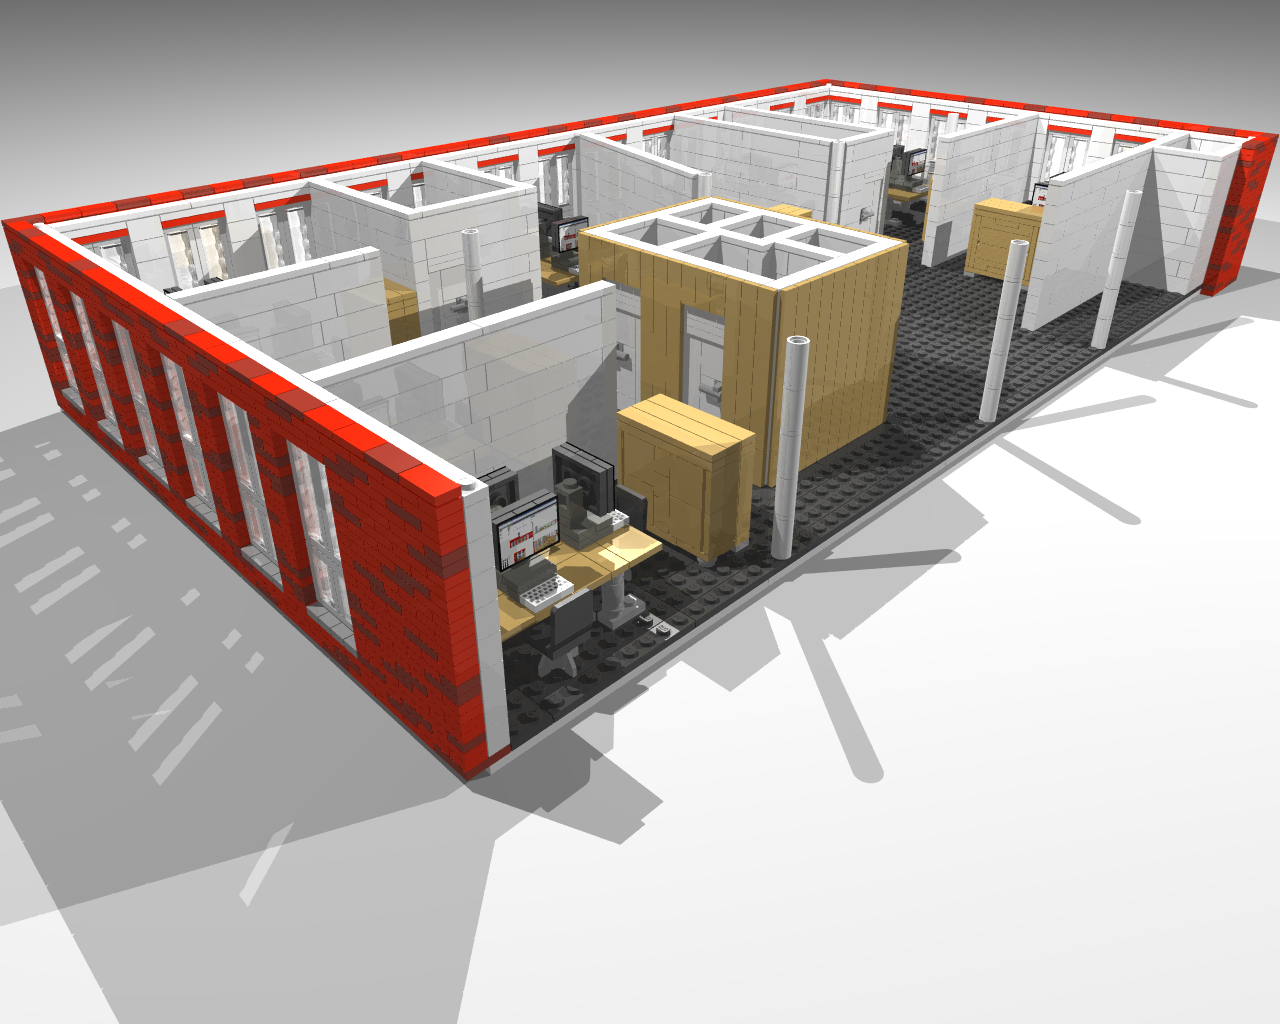
The model is a mini-fig scale (1:40) model. Which will be fully furnished with as much as detail that confirms to reality as possible. To scale the model will be about 100x80x50 centimeters in size, which includes the building and outdoor space featuring the parkinglot among other details.

The model is currently being made with virtual bricks by use of MLCad, which is a CAD program specificly designed for virtual building with Lego. The renders are made using L3P/L3PAO with POV-ray as renderer.

The progress achieved so far has taken an effort of about 12 to 16 hours. And the planning is to have the outside shell finished by the end of this month (November 2008).

The building will consist of 4 storeys which are configured in a stepwise way in the two parts of the building seperated by a glass column in the middle. When finished the model should be able to open by hinges on the first floor in the glass column on both the left and right side, so that it is possible to see the inside of the building. Next to that it will be possible to take of each storey as a seperate module.

In the coming time it will be possible to track the progress of the project and occasionally I will try to show some more specific details on certain design features of both the actual building as well as the Lego scale model.

Hope to see you again,
Dryw Filtiarn